
Introduction
Have you bought a rotating proxy or static proxy and want to start using it? You could set up the proxy on your computer to route all of the web requests originating from your computer to the proxy server. However, if you want to only route specific web requests, a better option is to set up the proxy on the browser. Let’s go over on how to do it!
What is FoxyProxy Browser Extension?
The FoxyProxy browser extension would help you to navigate between multiple proxies seamlessly. With advanced configurations, it can also automatically switch between different proxies based on the ruleset. It is a great extension as a starting point and we will stick to using it for this blog post.
You can decide which browser you want to use. We are going to demonstrate Chrome and Firefox, both in this blog post. These two are widely used browser-types.
By learning how to install FoxyProxy on Chrome, you would be able to install it on many other browsers as well such as Microsoft Edge, Opera and Brave Browser because these are all Chromium-based browsers.
Do note that even though the setup might be the same, some functionalities are different between the FoxyProxy extensions for Firefox and Chrome.
How to install FoxyProxy Browser Extension on Chrome?
Step 1. Go to https://chromewebstore.google.com and search for “FoxyProxy” and hit Enter.
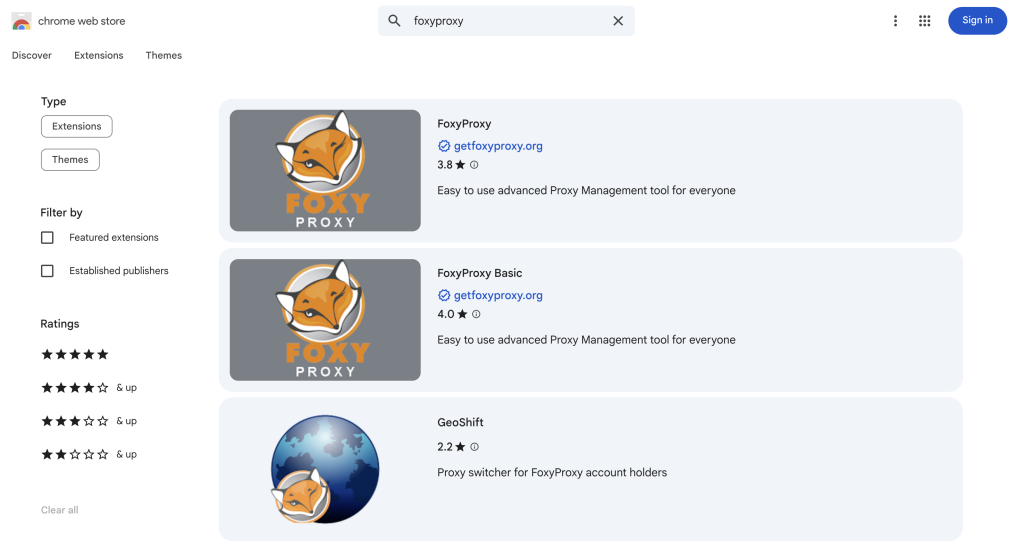
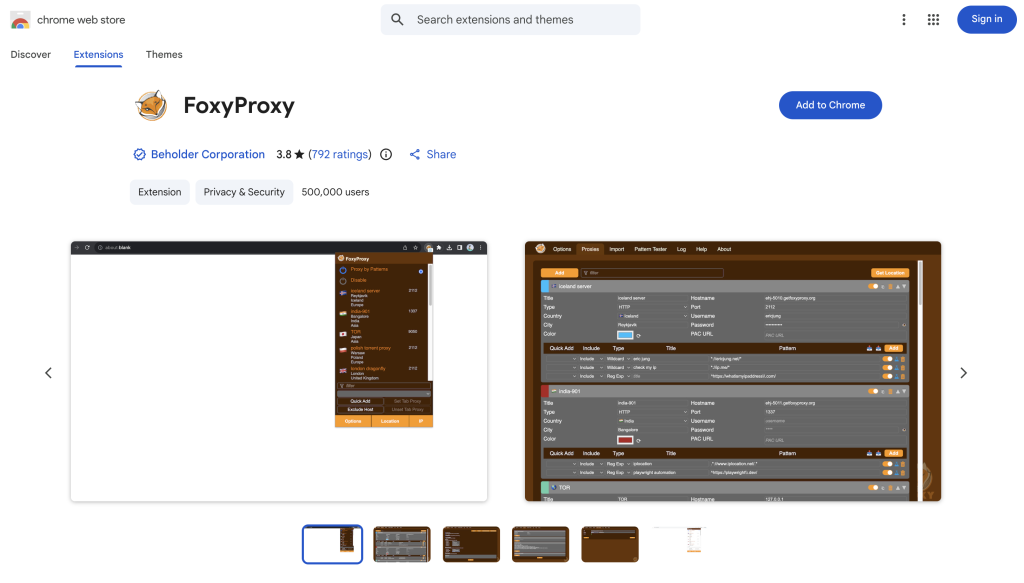
There are two FoxyProxy extensions — FoxyProxy and FoxyProxy Basic. The former is an advanced extension with additional customizability while the latter is a basic version with limited customizability. You can install one according to your requirements. We will go forward with the FoxyProxy because it has advanced features which we will cover in this blog post. The setup process remains the same for both of the extensions.
Step 2. Click on the FoxyProxy and click on the “Add to Chrome” button on the top-right. Then confirm the pop-up and click on “Add extension”.
Step 3. Once it’s installed, you can optionally on the top right corner, click on the Extensions icon, and pin the extension to access the extension in a faster way with a simple 1-click.
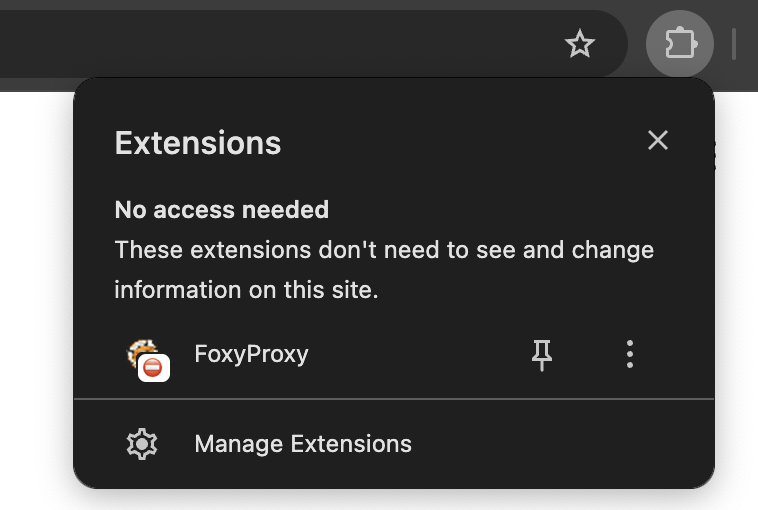
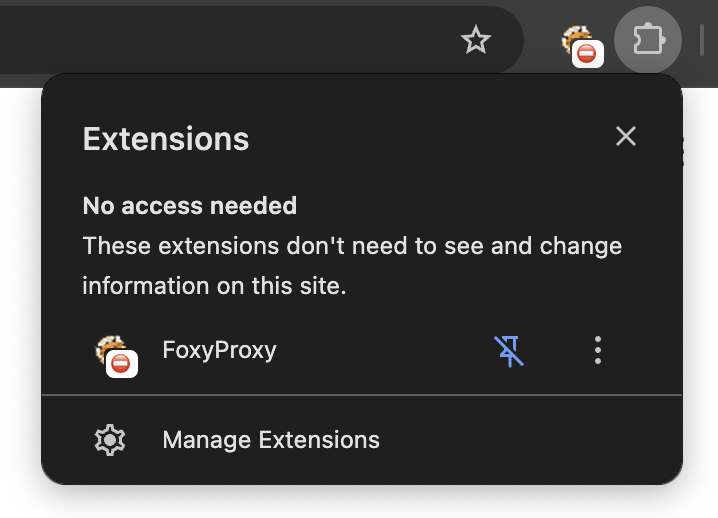
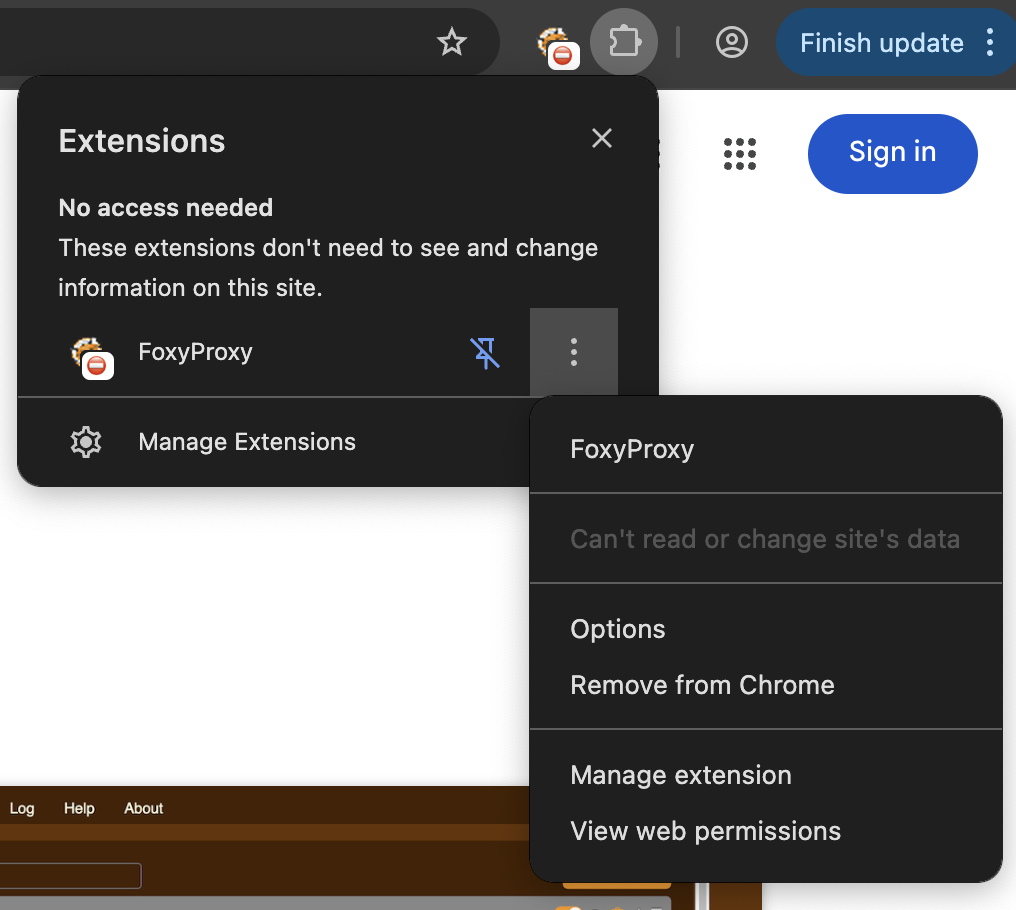
Step 4. To access it, you can click on the Extensions icon -> three dots in front of the FoxyProxy extension and then click on Options.
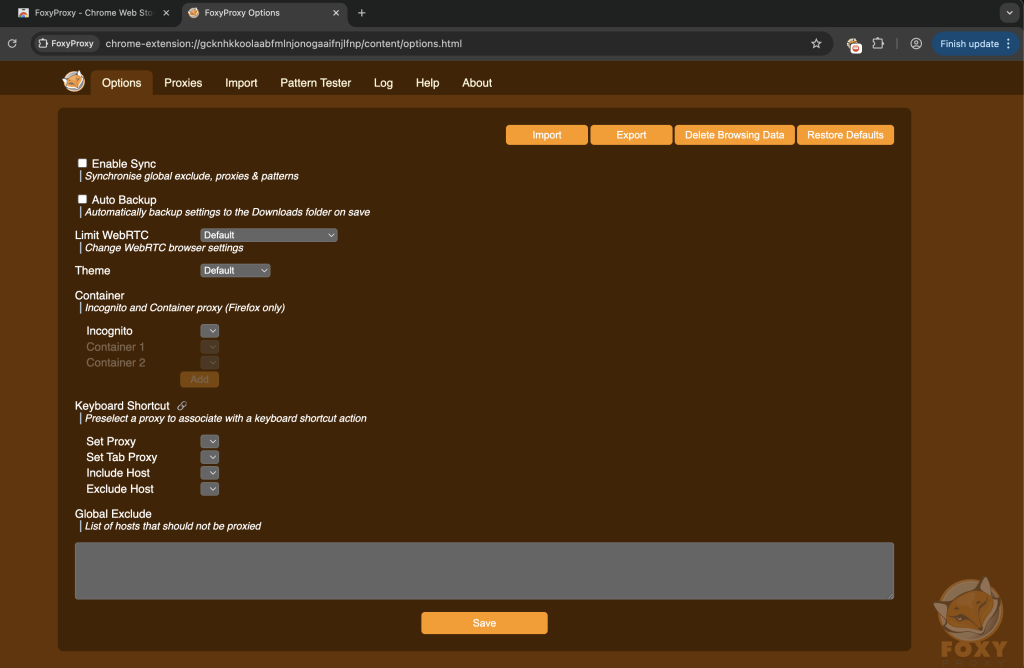
A new window will open with the FoxyProxy configuration.
How to install FoxyProxy Browser Extension on Firefox?
Step 1. Go to https://addons.mozilla.org and search for “FoxyProxy” and hit Enter.
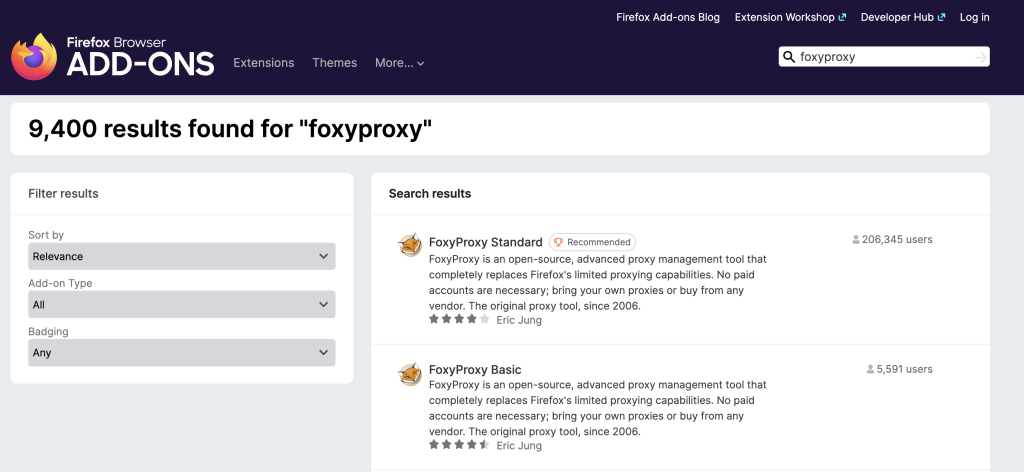
Same condition with the FoxyProxy extension on Chrome, you will see there are two FoxyProxy extensions — FoxyProxy and FoxyProxy Basic. The former is an advanced extension with additional customability while the latter is a basic version with limited customability. You can install one according to your requirements. We will go forward with the FoxyProxy because it has advanced features which we are going to cover. The setup process remains the same for both of the extensions.
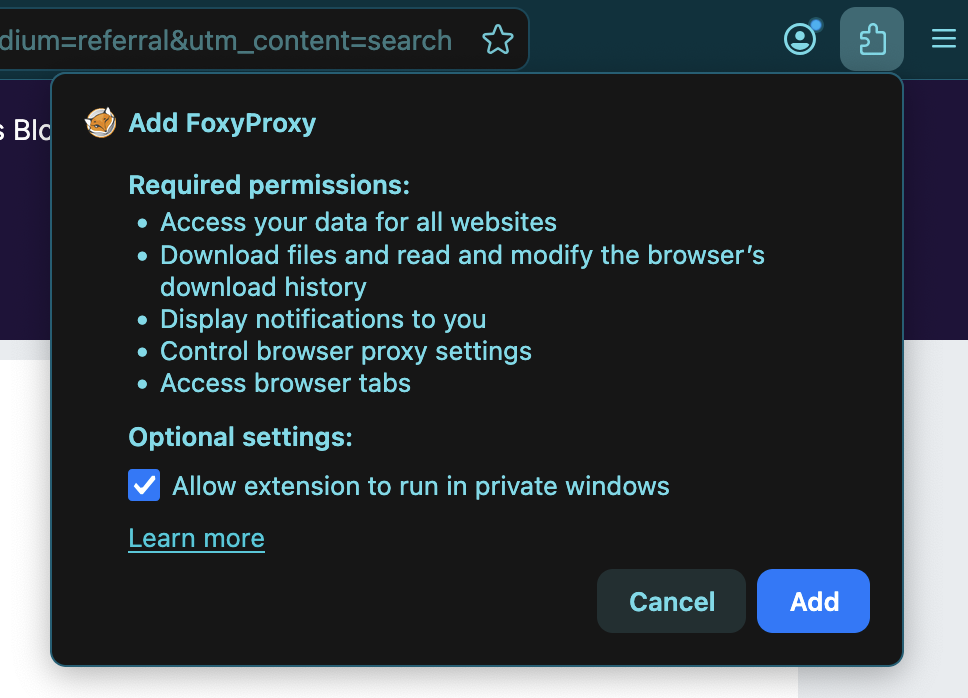
Step 2. Click on the FoxyProxy and click on the “Add to Firefox” button on the top-right. Then confirm the pop-up and click on “Add extension”. Optionally, while doing this, you can also allow this extension to run in private windows (i.e incognito windows).
Step 3. Once it’s installed, you can optionally on the top right corner, click on the Extensions icon, and click on settings and then select “Pin to Toolbar” to access the extension in a faster way with a simple 1-click.

Step 4. Click on the Extensions icon -> click on the FoxyProxy option -> click on the “Options” button on the bottom left of the extension.
A new window will open with the FoxyProxy configuration.
How to add proxies in the FoxyProxy extension?
Step 1. Open the “Options” of the FoxyProxy extension.
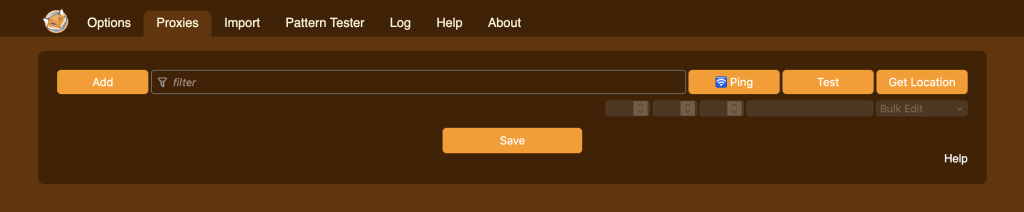
Now, there are two ways to add the proxies. One way is to add it one by one using the “Proxies” tab. Another way is to add it in bulk using the “Import” tab. For the purposes of this article, I only need to add one proxy. Hence, I will go with the “Proxies” tab. For the purposes of this article, I’m using proxies obtained by ProxySwag which is one of the leading ISP Proxies providers serving reliable ISP Proxies perfectly tailored for web scraping, multi-account management, automation and more.
Step 2. Click on the “Proxies tab”, then click on the “Add” button.
Now, we have to use the dashboard of your proxy provider to view the required fields to fill into the FoxyProxy form. For example, I can see this on my ProxySwag Dashboard:
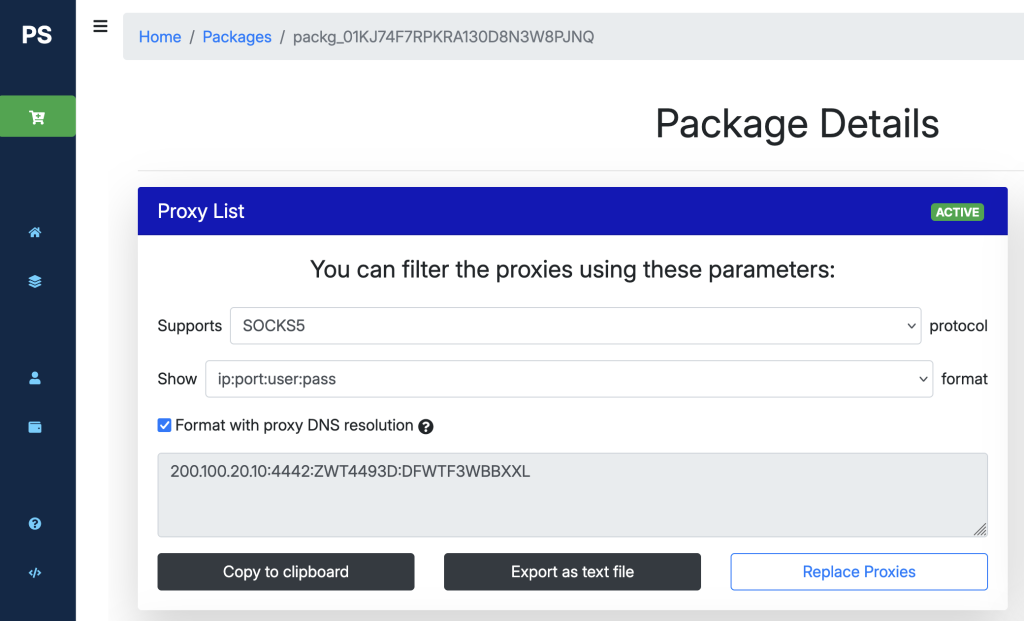
Step 3. Copy and paste the required information as seen in the dashboard and hit “Save”.
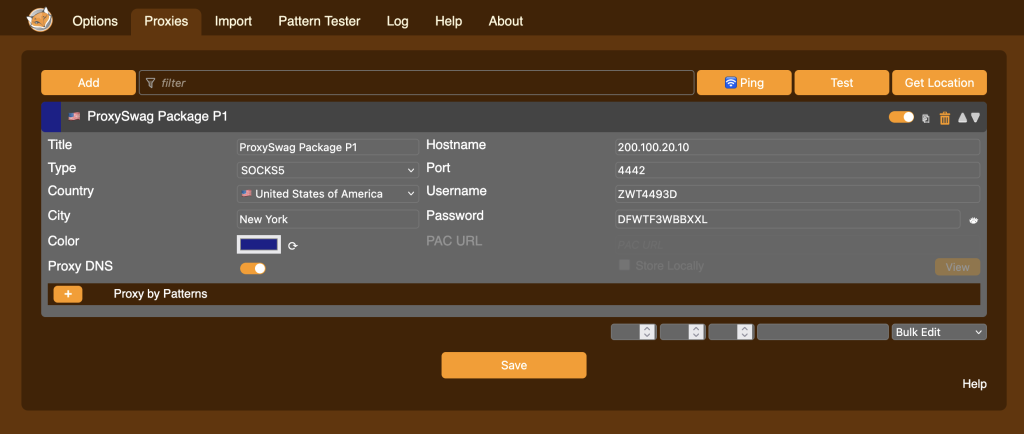
The Country and City information are completely optional and just for your reference. You can ask your provider which country and city are the proxies geolocated in, and add that information.
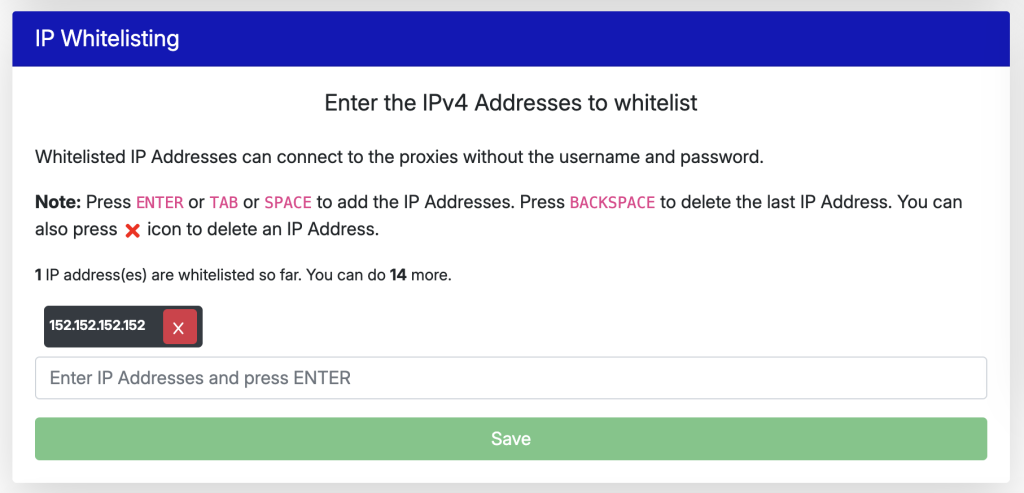
You might be on Chrome and you may be unable to add username and password. In that case you need to whitelist your IP in your proxy provider’s dashboard. Depending on your provider, they may not support this. If you do not see this option in their dashboard, it might be better to confirm regarding this by contacting them. ProxySwag supports this fully and hence I’ve whitelisted my IP Address as below:
Also, if you’re choosing SOCKS5 protocol, make sure to enable the Proxy DNS if your proxy provider supports this. Proxy DNS essentially makes the DNS requests on the proxy server and adds another privacy layer i.e you will not be caught during the DNS leak tests. As ProxySwag supports this as well, I’ve enabled it.
Advanced Settings
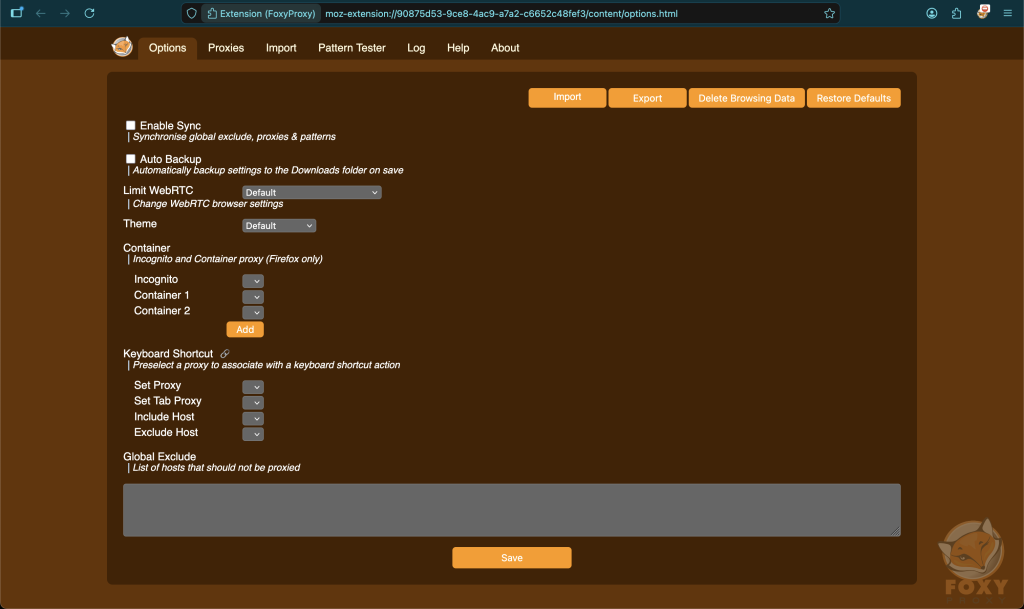
Go to the “Options” tab again to configure Advanced Settings.
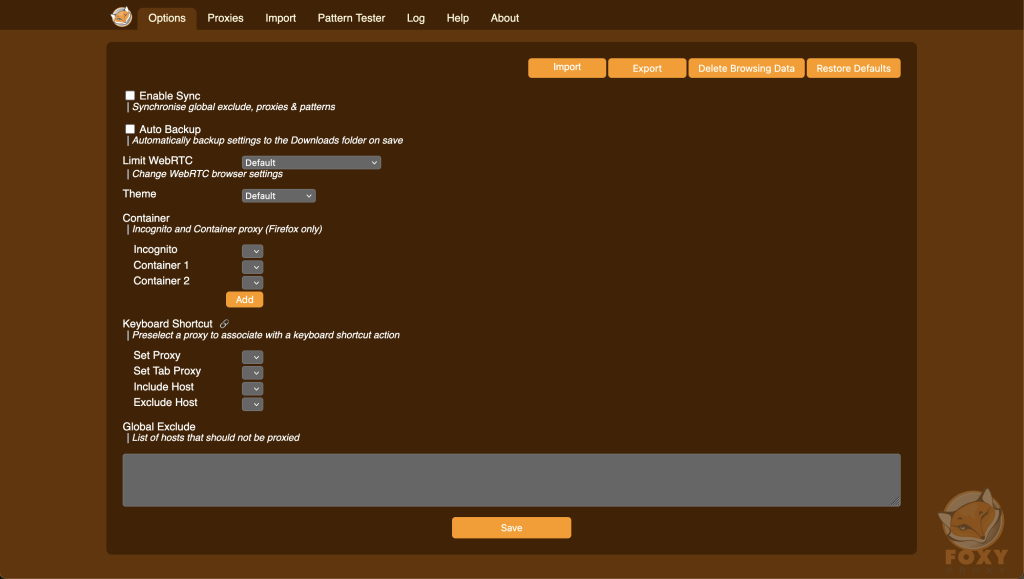
1. Make sure you are changing the “Limit WebRTC” to “Proxy Only”.
This is a better setting to not leak your IP Address via the WebRTC protocol. Many of the websites do not use this protocol. But for those who do, you would be leaking your real IP Address.
2. You can check “Enable Sync” to synchronise global exclude, proxies and patterns.
3. You can check “Auto Backup” to automatically backup settings to the Downloads folder on save.
4. You can change the “Theme” to the available ones for your preference of colors.
5. You can choose a specific proxy to be applied in the “Incognito”, “Container 1” and “Container 2”. This setting is for Firefox only.
6. You can also set Keyboard Shortcut to choose a specific proxy should you need this feature.
Click on “Save” after you modify the required settings.
How to visit websites through the proxy?
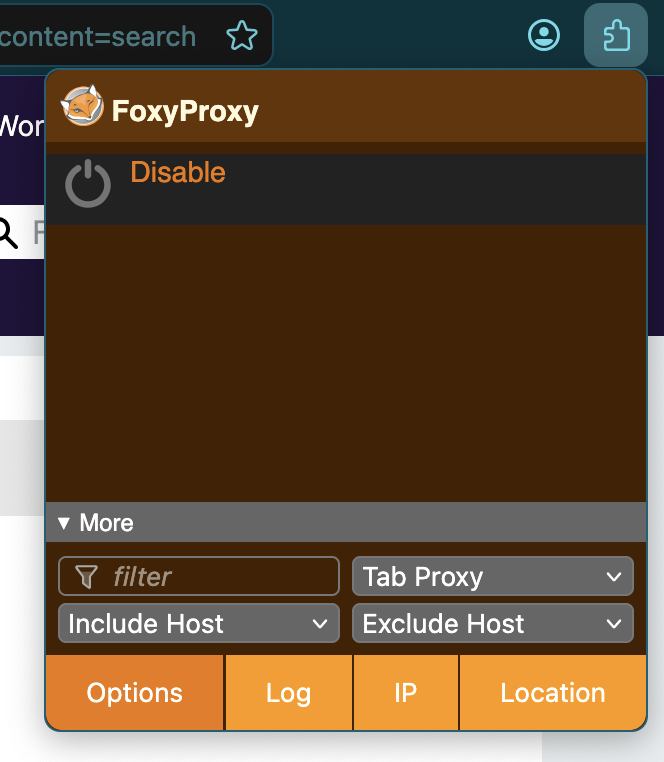
Step 1. Click on the “Extension” icon.
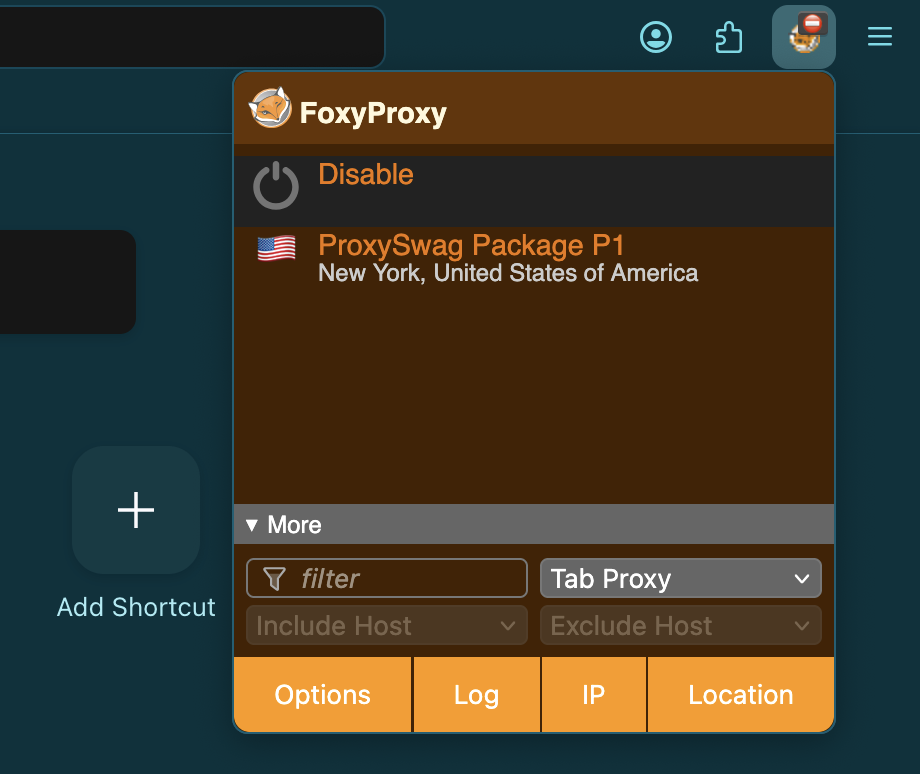
You will see all of the proxies added so far.
Step 2. Click on the proxy you want to use.
Step 3. Click on the “Location” button to verify your proxy setup. If everything is correct, you would see your proxy IP and the proxy location.
Step 4. After you’re done browsing, you can click on the “Extension” icon and click on the “Disable” button to disable the proxy usage. Make sure to close all the websites before doing this!
Conclusion
We’ve covered how to set up the proxies into the FoxyProxy extension. We also went over how to verify if the proxies are working or not. We also went over the best practices for proxy management and settings to prevent your IP Address leaks. I hope this article solved your doubts regarding proxies and the FoxyProxy extension.
Looking to buy Premium Quality Static Residential ISP Proxies? Try ProxySwag which on an average saves up to 31% of the proxies cost.